If you keep experiencing the “dxgmms2.sys” BSOD error repeatedly while playing games or streaming video on your Windows 10 PC, the list of troubleshooting methods below should help you fix that.
Update Graphics Card Drivers
In most cases, the “dxgmms2.sys” BSOD stems from outdated video drivers, so it’s a good idea to kick things off by updating them. You can obtain an up-to-date copy of the drivers with a brief search on graphics card manufacturer websites such as NVIDIA, AMD, and Intel. Suppose you don’t know the specific make and model of your graphics card. In that case, you can rely on auto-detect tools such as NVIDIA Smart Scan, AMD Driver Auto-detect, and Intel Driver & Support Assistant to download drivers automatically. You can also use a dedicated driver updater tool to help you with that.
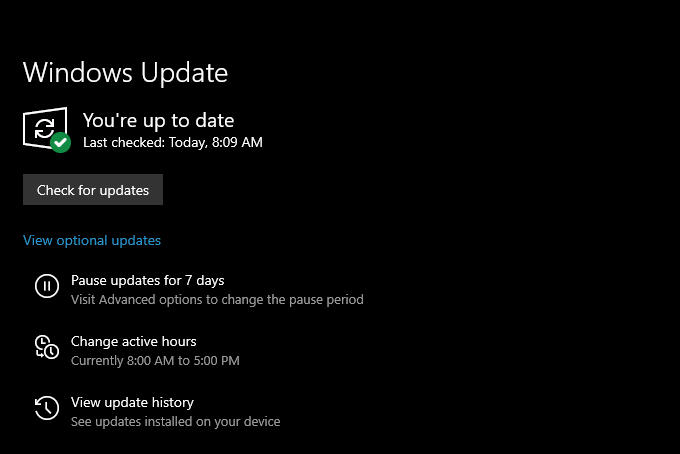
Update Windows 10
Outdated versions of Windows 10 can also result in the “dxgmms2.sys” BSOD. If you’ve repeatedly put off installing operating system updates on your computer, you must apply them immediately. That should eliminate any known bugs and issues while simultaneously updating obsolete DirectX components.
- Open the Start menu and select Settings.
- Select Update & Security.
- Select Check for updates. Suppose Windows Update detects any pending updates, select Download and install to install them.
Roll Back Graphics Card Drivers
If you started encountering the “dxgmms2.sys” error right after updating your graphics drivers in Windows 10, you must roll them back.
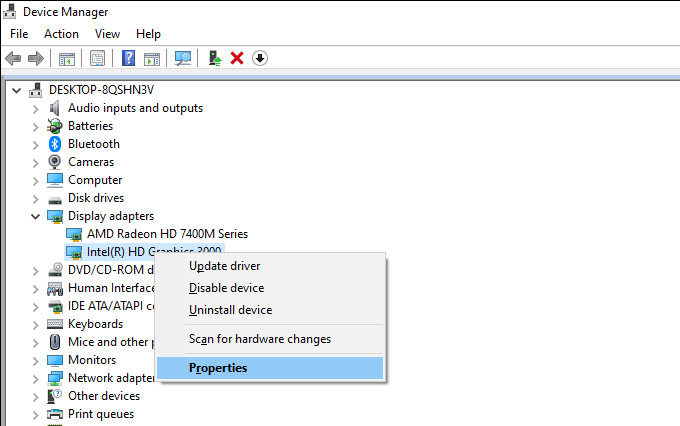
- Press Windows+X and select the option labeled Device Manager.
- Expand Display adapters.
- Right-click your display adapter and select Properties.
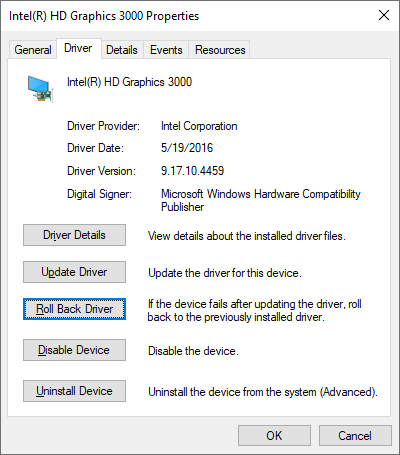
- Switch to the Driver tab.
- Select Roll Back Driver.
- Restart your computer.
Reinstall Graphics Card Drivers
If the “dxgmms2.sys” BSOD error persists, you must reinstall the graphics card drivers on your computer.
- Open Device Manager.
- Expand Display Adapters.
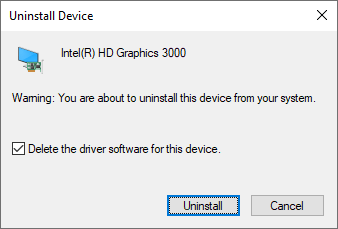
- Right-click your display adapter and select Uninstall device.
- Check the box next to Delete the driver software for this device and select Uninstall.
- Press Windows+X and select Apps and Features.
- Remove any listed video card driver support software.
- Restart your computer. Windows 10 will automatically install a set of generic video drivers at startup. But you must obtain the latest drivers from your graphics card manufacturer and apply them as soon as possible.
Update Game, Browser, or Streaming Client
Is there a specific video game, web browser, or streaming client that triggers the “dxgmms2.sys” error on your computer? Update the application to its latest version and check if that helps.
Repair Corrupted Files and Drive Errors
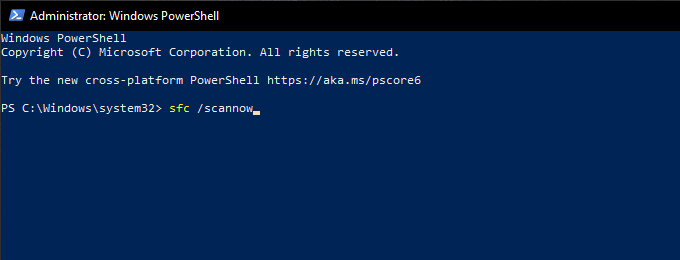
Windows 10 features several command-line tools that you can run off an elevated Windows PowerShell console to check for and resolve issues with corrupted files and drive errors. You should run them in the order that they appear below. However, they may take a significant amount of time (around an hour or more) to complete.
Run System File Checker (SFC)
- Press Windows+X and select Windows PowerShell (Admin).
- Type sfc /scannow.
- Press Enter.
Run Deployment Image Servicing and Management (DISM) Tool
- Open an elevated Windows PowerShell console.
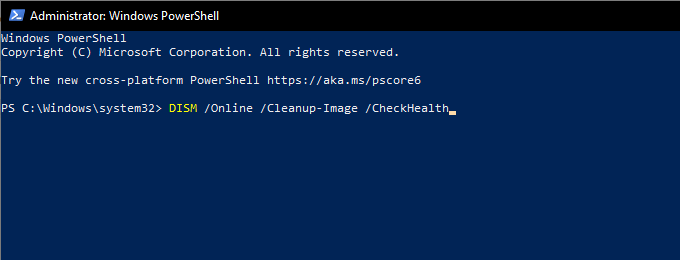
- Enter the following command and press Enter: DISM /Online /Cleanup-Image /CheckHealth
- If the DISM command detects issues with your computer, execute the two commands that follow: DISM /Online /Cleanup-Image /ScanHealth DISM /Online /Cleanup-Image /RestoreHealth
Run Check Disk Utility (CHKDSK)
- Open an elevated Windows PowerShell console.
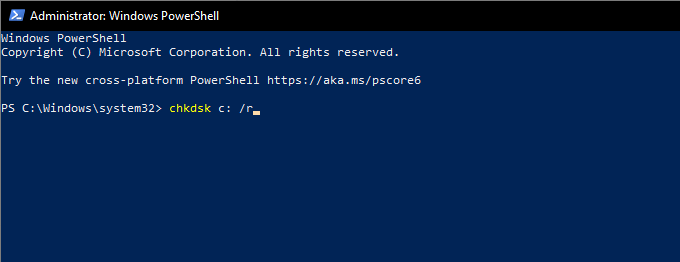
- Type chkdsk c: /r.
- Press Enter.
- Type Y to confirm that you want the Check Disk Utility to run the next time you reboot your computer.
- Press Enter again and restart your computer.
- Wait for the Check Disk Utility to finish scanning and repairing drive errors. Windows 10 will load soon after that.
Perform System Restore
Have you taken the time to set up System Restore in Windows 10? If so, you probably have a restore point from a time when your PC was working correctly. Try using it to restore the operating system to an earlier state.
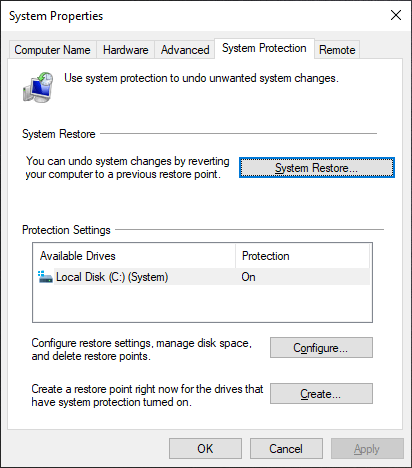
- Press Windows+R to open the Run box. Then, type sysdm.cpl and select OK.
- Switch to the System Protection tab.
- Select System Restore.
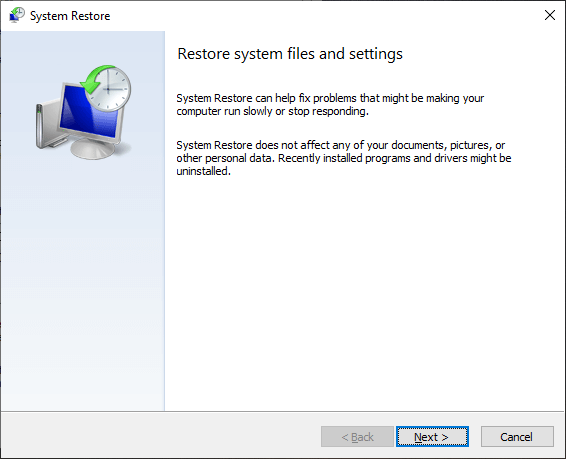
- Select Next.
- Pick a restore point and follow all on-screen instructions to apply it.
Uninstall Windows Update
New Windows 10 updates improve the stability of the operating system, but some can also end up breaking things. If a recent Windows update caused the “dxgmms2.sys” BSOD error to show up, you should remove it. You must not uninstall any security updates, however.
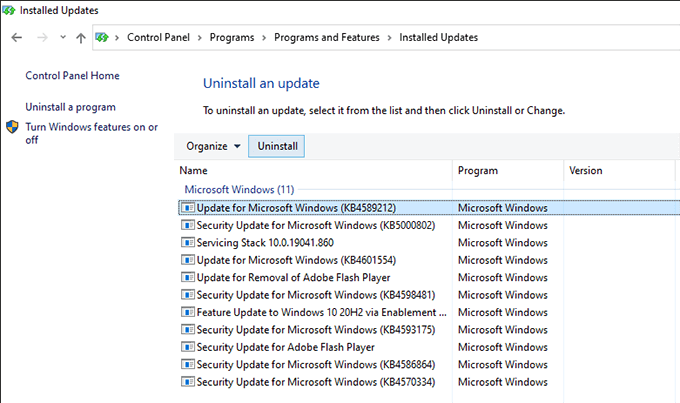
- Open the Run box. Then, type appwiz.cpl and select OK.
- Select View installed updates to the top-left of the Programs and Features window.
- Select the most recent optional or feature update and select Uninstall.
Run Memory Diagnostics
Faulty memory is another cause of the “dxgmms2.sys” BSOD. You can check for memory-related issues using Windows 10’s built-in Windows Memory Diagnostics tool.
- Press Windows+S, type windows memory diagnostics, and select Open.
- Select Restart now and check for problems. That should prompt your computer to boot into Windows Memory Diagnostics.
- Wait until Windows Memory Diagnostics finishes checking for any errors. Once it does, your computer will reboot and notify you of memory-related issues. Additionally, you should run the third-party MemTest86 tool to check for even more errors. Here’s how to use MemTest86 to diagnose bad memory. If both tools confirm that there are memory errors on your computer, you may have to replace the RAM modules. Contact a local PC repair service for assistance.
Reset Windows 10
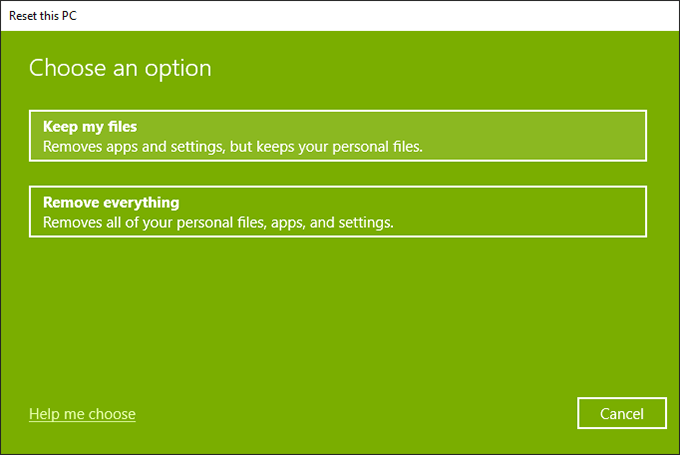
If none of the fixes above worked (or if there’s nothing wrong with the memory on your computer), then you must reset Windows 10 to factory defaults. That should get rid of any underlying issues behind the “dxgmms2.sys” BSOD error. You can choose to keep or remove personal files during the reset procedure.
- Open the Start menu and select Settings.
- Select Update & Security.
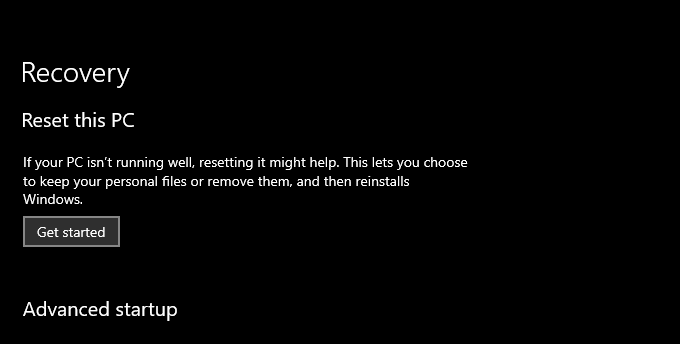
- Select Recovery.
- Select Get started.
- Depending on what you want to do with your files, select Keep my files or Remove everything. Then, follow the rest of the on-screen instructions. For a comprehensive step-by-step guide, check out this post about resetting Windows 10 to factory settings.
DXGMMS2.SYS BSOD Error Fixed
You likely ended up fixing the “dxgmms2.sys” BSOD straight off the bat by updating the graphics card drivers on your computer. If not, the rest of the pointers above should’ve helped you resolve it. But here’s what you must do if you continue to run into the error. The “dxgmms2.sys” BSOD typically shows up alongside the “System Thread Exception Not Handled,” “Kmode Exception Not Handled,” and “System Service Exception” stop codes. We’ve covered them separately, so dig into those posts and carry out any additional suggestions and fixes that you find.
