You definitely can get good pictures of the moon through some trial and error, and the right photography techniques. But to get the best moon shots, take these camera settings for moon shots into account and remove the matter of chance. Here are the best camera settings to use when photographing the moon.
ISO
Set your camera ISO to 100. This will allow your camera to clearly pick up the bright light and details of the moon, as well as darkening the night sky. Since the moon is your only focus, you don’t need to worry about being able to see other parts of the scenery. If you do want to pick up more scenery, check the settings below for capturing the foreground.
Aperture
To get the clearest pictures, try to take your photos at a narrower aperture f/11. This will ensure that you get the widest shot you can and capture all the detail of the moon with sharpness. You can go slightly higher than this if you need to, if your lens takes clearer pictures at a certain aperture. It can be different for every lens.
Shutter Speed
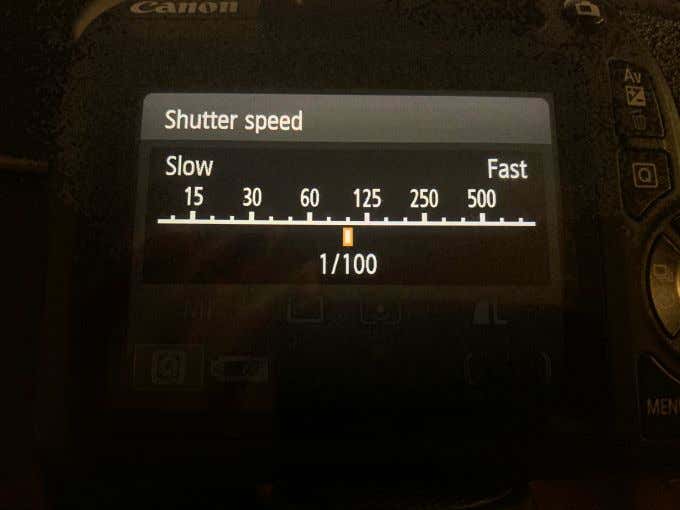
To get a good exposure of the moon’s light and details, you should set your shutter speed at around 1/100 to 1/125. This will work with what you have set your ISO and aperture to in order to maximize the detail you can see in the moon.
Focus
Keep your camera in manual focus. This will make it easy for you to control how the camera focuses. If you use an automatic focus, it may make it more difficult to get clear photos and you’ll lose a lot of control over the photo. Since the moon is unmoving, you won’t have to worry about needing fast focus shifts.
White Balance
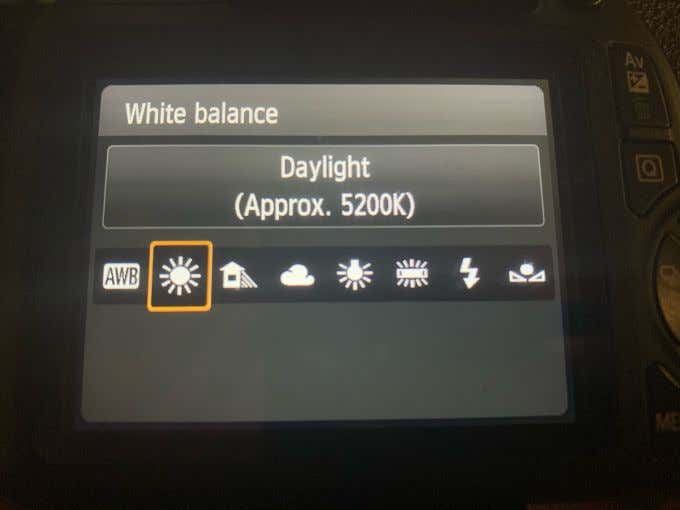
This setting is more or less up to you, depending on what kind of colors you want to incorporate into your photo. Especially if you shoot in RAW as is recommended below, your white balance won’t matter as much. Using the Daylight White Balance preset, though, is probably your best go-to for photographing the moon. Or, experiment with the auto white balance setting enabled.
Use a Long Lens
An important part of taking great moon photos is to have a lens that can capture something so far away with detail. You can still take moon photos with short lenses, but the result will be a much smaller moon with more of the surrounding scenery in the shot. If you want the moon to fill up the photo and show all its detail, using a long lens with a focal length of 200mm or longer is better. The speed of the lens doesn’t matter as much if you want to use the lens for only moon shots.
Shoot in Raw
If you plan to color balance your moon photo after taking it, it’s recommended to shoot your photos in the RAW format. This will allow for much simpler color balancing and correcting. It’s important to do this with moon photos as you can fix things like lighting and color, which are some of the most important parts of a good moon picture. These photos will take up more memory, as they are not compressed like JPEGs, so make sure to bring multiple memory cards if you can.
Other Tips
Besides the camera settings for moon photography, there are also some other things you should keep in mind in order to get the best photos possible.
Wait for the Moon to Rise
The moon shines at its brightest when it’s at the peak of its nightly path. This usually occurs around midnight, and then the moon will set at around 6 am. When the moon is at its highest point at midnight, you should be able to photograph it in this position for about an hour. Then it will be on its decline. Also, keep in mind that the phase of the moon will determine how brightly it shines. A full moon will be much brighter at its peak than in its crescent phase.
Get There Early
Although it may not seem like it at first, it might take you a minute to get entirely set up to properly photograph the moon. You’ll have to set up your camera, tripod, and then compose your shots. This can take up precious time if you’re trying to photograph the moon at a specific point. So, be sure to get there early. It may also help to change the settings on your camera before you arrive, and then tweak them as needed to save some time. Think beforehand about what kinds of photos you want to compose, and the area you want to shoot it from.
Use a Tripod
A tripod is essential equipment for any landscape photo and photos where light is an important factor (like sunset photography). This will ensure there is no camera shake and this allows you to capture photos in finer detail. To increase the chance of clear photos, you can set a short timer on your camera to take the photo after you’ve pressed the button. This will prevent the act of pressing the button to impact your photo.
Incorporating the Foreground
If you want to show more of the foreground as well as the moon in your photo, you’ll want to think about compositing two photos onto one another. It’s very difficult to get a correct exposure for both the moon and the ground or surrounding scenery, so taking multiple photos with different exposures set for each one will result in a much cleaner looking photograph. Image modifications are easy in Photoshop or another image editing software.
Photographing the Moon
Although taking photos of the moon can seem daunting at first, hopefully this guide has helped you get a better grasp on moon photography. You can put your knowledge to use the next time there is an eye-catching lunar event you just have to get a picture of. Who knows, you might end up selling your perfect photograph online and giving a fillip to your photography skills.


